Category: Family Fun Time

  • Weekend Treasure Hunt: A Step-by-Step Guide

    Weekend Treasure Hunt: A Step-by-Step Guide

    Ready to turn your neighborhood or backyard into an epic adventure? This simple, repeatable plan helps you design a family treasure hunt that works for mixed ages, tight budgets, and any location. Use the framework below as your all-in-one scavenger hunt guide—from theme to clues to prizes—so your next weekend adventure ideas becomes a family classic.

    Step 1: Pick a Theme & Story Hook

    • Theme options: Pirates, detectives, time travelers, secret agents, nature rangers, space explorers.
    • Story hook (1–2 sentences): “A famous explorer hid a chest somewhere in our neighborhood. Only true adventurers can follow the clues!”
    • Artifacts: Add a stamped “expedition pass,” faux map edges (tear + tea stain), and a team name board for instant immersion.

    Step 2: Choose the Playing Field & Boundaries

    • Locations: Living room → backyard → front porch; or park loop with visible landmarks.
    • Safety first: Set a visible boundary line, assign younger players a buddy, and keep an adult at the start/finish hub.
    • Time box: 45–90 minutes total to keep energy high.

    Step 3: Map Your Route (5–7 Stops)

    Great hunts feel like progress. Sketch a simple route with variety—high/low, inside/outside, loud/quiet. Start easy, peak in the middle, end with a dramatic reveal.

    • Stop 1 (warm-up): Instant win to build confidence.
    • Stops 2–4 (core challenge): Mix puzzles and physical tasks.
    • Stop 5 (boss clue): Slightly harder—requires teamwork.
    • Finale: A locked box or hidden cache with the prize.

    Step 4: Craft Clues with the 3C Formula

    3C = Clear → Clever → Cooperative. Each clue should be understandable, a little surprising, and better with two or more brains.

    • Riddle clue: “I have hands but cannot clap; I watch the day go ‘round.” (Answer: clock)
    • Cipher clue: Use a simple letter shift or symbol grid taped under a table.
    • Photo clue: Close-up of a backyard object—kids must match angle/texture to find it.
    • Physical task: “Build a three-cup tower that stands for 10 seconds to earn the next clue.”
    • Observation trail: “Count the fence posts to the old oak, then turn right.”

    Tip: Put the answer location on the back in tiny print for the game master—just in case.

    Step 5: Balance Difficulty for Mixed Ages

    • Dual-layer clues: A picture hint for little kids + a word riddle for older ones—both point to the same place.
    • Role cards: Navigator (map), Decoder (cipher wheel), Runner (fetch), Archivist (stamps the passport). Rotate roles at each stop.
    • Time gates: If a clue goes over 5 minutes, the game master offers a first hint; at 8 minutes, a second hint.

    Step 6: Build Props & the Final Treasure

    • Clue carriers: Envelopes sealed with stickers, film canisters, plastic eggs, or tiny tins with numbers.
    • Locks: Use a 3-digit combo (answers add up), or a simple ribbon knot “lock” kids must untie by completing a mini-task.
    • Treasure chest: Shoebox or lunchbox lined with fabric. Fill with chocolate coins, stickers, DIY medals, or “experience coupons” (movie night pick, stay-up-late pass).

    Step 7: Run-of-Show (Your Game-Day Plan)

    1. T-15 minutes: Hide clues in route order; test any lock or task.
    2. T-5 minutes: Brief safety rules + show passports/roles.
    3. Go time: Hand over Clue #1 and start a 60–90 minute timer.
    4. Halfway mark: Water break + quick team photo.
    5. Finale: Drum roll, treasure reveal, victory song, and group picture with the “found” chest.

    Sample 60-Minute Family Treasure Hunt

    • 5 min: Intro + role assignment.
    • 10 min: Stops 1–2 (riddle + photo match).
    • 15 min: Stops 3–4 (cipher + physical tower).
    • 10 min: Stop 5 (observation trail to tree marker).
    • 10 min: Finale (3-digit combo from previous answers).
    • 10 min: Treasure reveal + medals + thank-yous.

    Rain Plan & Accessibility

    • Indoors: Hide clues in books, under chairs, inside a pot with a paper “map” taped to the lid.
    • Low-impact: Swap running for rolling a ball between stations; seated cipher/spot-the-difference puzzles.
    • Sensory-friendly: Keep lighting steady, avoid loud timers, and provide noise-reducing headphones if needed.

    After the Hunt: Keep the Magic

    • Debrief: “What was the hardest clue? The funniest moment?”
    • Memory album: Paste the passports and a few clues into a notebook; add one photo and a short caption.
    • Pass it on: Save props in a labeled bag so kids can host next time.

    Conclusion

    Memorable hunts are simple, clear, and cooperative. Pick a theme, map 5–7 stops, mix clue types, and finish with a chest everyone helps open. With this scavenger hunt guide in hand, your family treasure hunt will become a repeatable tradition and one of the easiest weekend adventure ideas to set up—no pirates required.

  • Family Movie Night: How to Host a Memorable Screening

    Family Movie Night: How to Host a Memorable Screening

    Turn your living room into the coziest theater in town. With a few clever touches, your next at-home screening will feel special without costing a fortune. Use these practical family movie night tips—from prep to credits—to craft unforgettable movie night ideas and easy home theater fun everyone will love.

    Step 1: Pick a Theme That Sets the Vibe

    • Genre night: Superhero, animation classic, nature doc, or “based on a true story.”
    • Series sampler: Start with movie #1 today; plan #2 for next month to build anticipation.
    • Color palette: Choose two colors (e.g., gold + navy) for blankets, cups, and napkins so the room looks pulled together.

    Pro tip: Add a one-song “overture” playlist before showtime to signal, “Find your seats!”

    Step 2: Create a Cozy, Screen-Friendly Setup

    • Seating map: Floor pillows in front for kids, sofa middle row, chairs behind. Everyone gets a clear view.
    • Lighting: Lamps dimmed + string lights behind the audience (not the screen) to reduce glare and keep the room navigable.
    • Sound check: Place a small speaker below or beside the screen; turn off loud appliances (dishwasher, AC bursts) for the opening 20 minutes.
    • No projector? Pull the TV 6–8 inches forward, angle slightly downward, and back it with a dark cloth to minimize reflections—quick home theater fun upgrade.

    Step 3: Build a Mini Concession Bar

    • Main: Popcorn trio—classic butter, cinnamon-sugar, and parmesan-herb.
    • Fresh bites: Fruit kebabs or apple slices + caramel dip.
    • Mix-ins: Pretzels, chocolate chips, trail mix—kids “customize” their tubs with a scoop.
    • Drinks: Sparkling water with citrus slices; a warm cocoa or tea carafe for late shows.

    Allergy-friendly tip: Label ingredients and keep nut-free options in their own bowl and scoop.

    Step 4: Make It Interactive (Without Distraction)

    • Ticket time: Hand out DIY tickets at the door; kids “tear” stubs and learn usher roles.
    • BINGO or Spot-It cards: Include safe, quiet prompts like “sunset,” “best friend moment,” or “epic music.” Reward with a small sticker after the credits.
    • Rating cards: Print simple 1–5 stars. During credits, everyone holds up a rating and explains one favorite detail.

    Step 5: Use a Run-of-Show

    • T-20 minutes: Open the snack bar; play the overture playlist.
    • T-10 minutes: Last call for bathrooms and refills. Lights to 30%.
    • Showtime: Phones to Do Not Disturb; captions on if helpful for kids.
    • Intermission (optional): At the halfway mark, 5 minutes for stretch + refill. Play a single trivia question about the film.
    • Credits: Ratings + two-minute “roses & thorns” (one thing you loved; one you’d change).

    Age-Smart Movie Night Ideas

    Toddlers & Preschoolers

    Keep it to 60–75 minutes total. Add plush seating and a “quiet bin” of fidgets for wiggly moments. Choose bright, simple plots.

    Grade-Schoolers

    Try adventure or animal docs. Add Spot-It cards and let them vote on the trailer for next month’s pick.

    Tweens & Teens

    Go for coming-of-age, sports, or mystery. Offer a post-movie debate: “Which character changed the most?” or “Best line of the night?”

    Keep It Inclusive & Comfortable

    • Accessibility: Provide captions and low-sodium snack options; skip strobe scenes if anyone is sensitive to flashing lights.
    • Sensory-friendly corner: Set up a low-light beanbag area with headphones for kids who need a break without leaving the room.
    • Pet plan: If your pet barks at doorbells, post a note for deliveries and start after walks.

    Post-Movie Magic: Make the Memories Stick

    • Photo moment: Hang a simple backdrop (sheet + paper stars). Snap two pictures: “before” with tickets, “after” with ratings.
    • Mini awards: Best Quote, Biggest Laugh, Most Unexpected Hero—one sentence each, quick applause.
    • Souvenir: Tape ticket stubs and rating cards into a “Family Movie Night” scrapbook or a shared notes app.

    Cleanup That Doesn’t Kill the Mood

    • Play the theme music while everyone does a 2-minute reset: cups to sink, blankets folded, popcorn swept.
    • Assign roles weekly: Concessions Captain, Usher, A/V Tech. Kids love official titles.

    Conclusion

    Great family movie night tips are about rhythm and small details: a theme, cozy lighting, a playful concession bar, and a short post-show ritual. Rotate these movie night ideas to keep things fresh and low-stress, and your living room will become the favorite spot for home theater fun—no tickets required.

  • Simple Science Experiments to Spark Curiosity

    Simple Science Experiments to Spark Curiosity

    Rainy day? Curious kid? Turn your kitchen table into a mini lab with these fun learning experiments. Each activity uses common supplies, takes 5–15 minutes, and includes a one-line “why it works” to build understanding. Try one after school or stack a few for a full afternoon of STEM activities at home. These are perfect science experiments kids will beg to repeat.

    Before You Start: Set Up Your Home Lab

    • Safety first: Adult supervision, clear workspace, eye protection for splashy projects.
    • Starter kit: Baking soda, vinegar, dish soap, food coloring, clear cups, cooking oil, salt, cornstarch, balloons, paper towels.
    • Science journal: Keep a simple log: Question → Materials → Steps → What happened → Why.

    1) Dancing Raisins

    Materials: Clear soda (or sparkling water), clear glass, a handful of raisins.

    1. Fill the glass with soda.
    2. Drop in raisins and watch them sink… then rise and “dance.”

    Why it works: Bubbles attach to rough raisin surfaces, increasing buoyancy until they float; bubbles pop and the raisins sink again.

    Extend: Try pasta, corn kernels, or dried cranberries—compare “dance” times.

    2) Pepper & Soap Surface Tension Trick

    Materials: Shallow dish, water, ground black pepper, dish soap, cotton swab.

    1. Cover water’s surface with a sprinkle of pepper.
    2. Touch the surface with a soap-tipped swab—pepper races to the edges.

    Why it works: Soap lowers water’s surface tension; water pulls away from the low-tension point, dragging pepper with it.

    Extend: Test different soaps to see which creates the biggest effect.

    3) Zip-Bag Volcano (Clean Fizz)

    Materials: Zip bag, 2 tbsp baking soda, 1/2 cup vinegar, a squirt of dish soap, food coloring, paper towel.

    1. Wrap baking soda in a paper-towel “packet.”
    2. Add vinegar, soap, and color to the bag; gently drop in the packet.
    3. Seal and set the bag in a tray—watch it puff and fizz.

    Why it works: Acid (vinegar) + base (baking soda) → carbon dioxide gas builds pressure and foamy bubbles.

    Safety: Don’t overfill; open away from faces.

    4) Walking Water Rainbow

    Materials: 6 clear cups, paper towels, water, red/yellow/blue food coloring.

    1. Arrange cups in a circle; fill every other cup with colored water (R, Y, B).
    2. Fold paper towels into strips and bridge each pair of cups.
    3. Wait 30–60 minutes for colors to “walk” and mix.

    Why it works: Capillary action pulls water up and over through tiny fibers, creating secondary colors in empty cups.

    Extend: Try different towel brands or coffee filters and time the flow.

    5) DIY Lava Lamp

    Materials: Clear bottle, 2/3 cup oil, 1/3 cup water (colored), effervescent tablet.

    1. Pour oil into the bottle, then colored water.
    2. Drop in a tablet and watch blobs rise and fall.

    Why it works: Oil and water don’t mix (different polarity); tablet releases gas that carries colored water upward.

    Safety: Cap loosely; never shake with the tablet still fizzing.

    6) Static-Powered Balloon Picks Up Paper

    Materials: Balloon, scrap paper pieces, wool sweater or hair.

    1. Rub the balloon on hair/sweater for 10–15 seconds.
    2. Hold near paper bits—they leap to the balloon.

    Why it works: Rubbing transfers electrons, creating charge that attracts light objects (electrostatic force).

    Extend: Test pepper, salt, tiny aluminum foil bits—what sticks best?

    7) Oobleck: Solid or Liquid?

    Materials: 1 cup cornstarch, ~1/2 cup water, bowl, spoon.

    1. Mix water into cornstarch until it feels like thick syrup.
    2. Squeeze hard (it feels solid), then let go (it flows).

    Why it works: Oobleck is a non-Newtonian fluid—pressure makes particles lock up; release lets them slide.

    Clean-up tip: Scrape into trash; rinse residue with plenty of water (don’t pour big clumps down the drain).

    8) Invisible Ink (Heat Reveal)

    Materials: Lemon juice, cotton swab, white paper, lamp or warm iron (adult only).

    1. Write a message with lemon juice; let dry.
    2. Gently warm paper under a lamp (or ask an adult to iron on low through another sheet) to reveal text.

    Why it works: Acidic juice browns faster than paper when heated, making letters appear.

    Safety: Adults handle heat; keep paper moving to avoid scorching.

    Make It a Mini STEM Fair

    • Hypothesis cards: Have kids predict outcomes before each demo.
    • Timer & tally: Measure “dance time,” walking-water speed, or fizz height; graph results.
    • Explain-back: After each experiment, kids teach the “why” in one sentence.

    Conclusion

    Curiosity grows with quick wins and clear explanations. Rotate these science experiments kids can master, log observations in a simple journal, and celebrate questions as much as answers. With these STEM activities at home, you’ll turn everyday items into fun learning experiments—and spark a lifelong love of science.

  • Backyard Games Everyone in the Family Will Enjoy

    Backyard Games Everyone in the Family Will Enjoy

    Looking for easy, screen-free fun that brings everyone outside? These classic and fresh outdoor play ideas are simple to set up, low-cost, and wildly replayable. Whether you’ve got toddlers, teens, grandparents—or all of the above—this list turns your yard into a mini festival of family fun outdoors. Sprinkle in the scoring twists and co-op modes to keep things friendly and fair.

    Quick Setup (5 Minutes)

    • Mark boundaries: Use cones, sticks, or chalk for a safe play zone.
    • Make a “gear bin”: Painter’s tape, rope/cord, plastic cups, balls, beanbags (or rolled socks), sidewalk chalk.
    • Group roles: Pair bigs with littles; rotate “referee” so everyone plays.

    10 Backyard Family Games

    1) Capture the Flag (Co-op Edition)

    What you need: Two bandanas or socks as flags. Split into two teams with home bases.

    How to play: Sneak into the other side, grab the flag, and return without being tagged. If tagged, freeze for 10 seconds or go to “jail” for a teammate rescue.

    Make it inclusive: Younger players get a 5-second “safe bubble” after crossing boundaries.

    2) Freeze Tag with Power-Ups

    What you need: Just space. One tagger to start.

    How to play: Tagged players freeze; teammates unfreeze with a high-five. Add chalk “power circles” where anyone standing inside is safe for 5 seconds.

    Twist: Rotate the tagger every minute to keep the pace friendly.

    3) DIY Obstacle Course

    What you need: Rope to crawl under, chairs to zigzag, a bucket to toss balls into.

    How to play: Time each runner or run relay style. Mix moves: hop, crab-walk, spin, balance a beanbag on your head.

    Level up: Add a “team challenge” (everyone passes a ball down the line without hands).

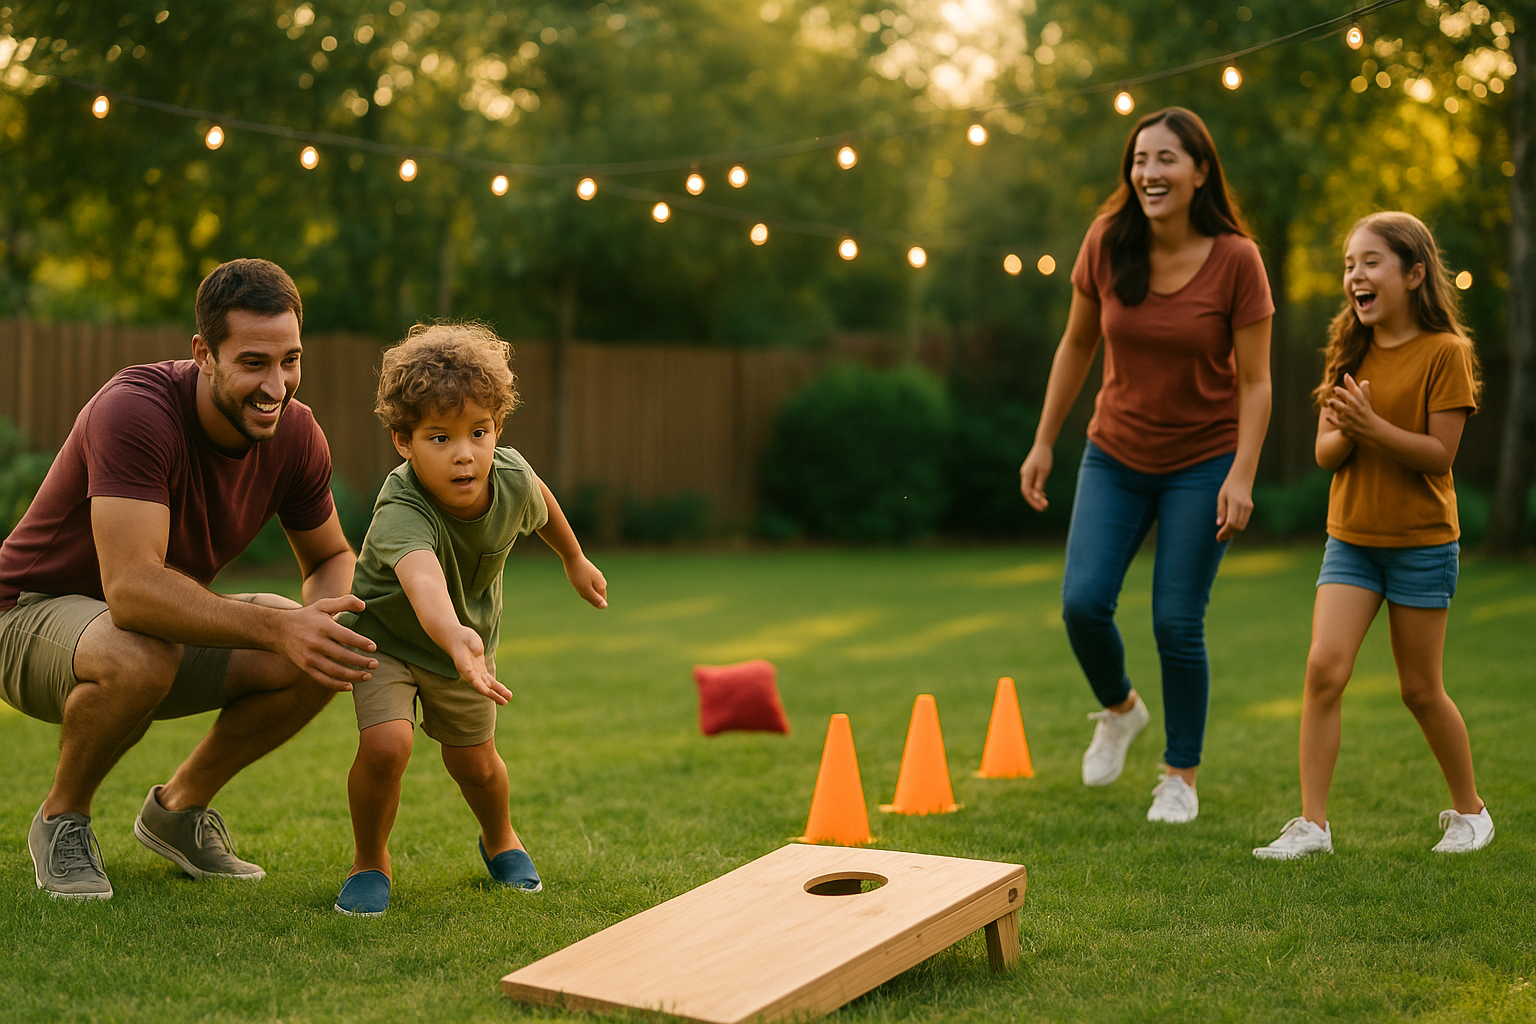
    4) Beanbag (or Sock) Toss

    What you need: Laundry basket(s), masking tape lines, beanbags or rolled socks.

    How to play: 3 throws each from the tape line. Move the basket farther for bonus rounds.

    Co-op mode: Combine scores to beat a family target.

    5) Giant Tic-Tac-Toe

    What you need: Rope or chalk grid (3×3), 6 frisbees/plates in two colors.

    How to play: Teams take turns tossing their markers onto the grid. Best of five wins.

    For littles: Place instead of toss.

    6) Water Relay (Warm-Day Favorite)

    What you need: Two buckets per team—one full, one empty—plus cups or sponges.

    How to play: Shuttle water from full to empty in 60–120 seconds. No running for small kids; make it a silly walk.

    Dry-day swap: Use pom-poms or balls instead of water.

    7) Nature Bingo Scavenger Hunt

    What you need: Paper cards with simple items: “heart-shaped leaf,” “feather,” “something yellow.”

    How to play: First to complete a row shouts “Bingo!” Bonus point for best photo of a find.

    Gentle rule: Look with eyes; only pick up safe, loose items.

    8) Backyard Bowling

    What you need: 10 plastic bottles (half-filled with water for stability) and any ball.

    How to play: Two frames per player; reset pins together to keep everyone moving.

    Twist: Make “trick shot” cards—roll between chair legs, granny-style, eyes closed for 1 second.

    9) Parachute Pop (Bed-Sheet Version)

    What you need: A clean flat sheet and a few light balls or balloons.

    How to play: Everyone holds the edge, pops the items in the air, and tries to land them in the middle “target zone.”

    Co-op goal: Keep all balloons aloft for 20 seconds—beat your record.

    10) Glow-Stick Ring Toss (Dusk)

    What you need: Glow-stick necklaces as rings; a water bottle as the peg.

    How to play: 3 tosses each; step back after every round. Add calm background music for cozy vibes.

    Fair Play & Accessibility Tweaks

    • Two speeds: Offer a “walk lane” and a “run lane.”
    • Time bonuses: Younger players get −5 seconds; adults add +5 seconds.
    • Low-impact options: Seated throws, rolling instead of running, or partner assist for balance tasks.
    • Team rotation: After each game, shuffle teams so siblings end up together sometimes—and not others.

    30-Minute Backyard Game Plan

    1. Minutes 0–5: Set boundaries + quick stretch.
    2. Minutes 5–12: Freeze Tag with power-ups.
    3. Minutes 12–20: Obstacle Course relay.
    4. Minutes 20–28: Beanbag Toss or Tic-Tac-Toe.
    5. Minutes 28–30: Team high-fives + one appreciation each.

    Safety & Comfort

    • Check the ground for hazards; close gates before running games.
    • Hydrate every 15–20 minutes; use shade breaks on hot days.
    • At dusk, add lights or glow sticks and avoid uneven areas.

    Conclusion

    Memorable backyard family games don’t require fancy gear—just a few props, clear boundaries, and a playful spirit. Rotate these outdoor play ideas, keep scores collaborative, and celebrate effort over winning. You’ll create family fun outdoors that kids ask to replay long after the sun sets.

  • Holiday Decoration DIYs Your Kids Can Help With

    Holiday Decoration DIYs Your Kids Can Help With

    Want a festive home without handing your decor over to glitter chaos? These kid-friendly projects deliver style and nostalgia while staying low-mess and budget-conscious. Use the ideas below to create DIY holiday decor that doubles as keepsakes, invites kids craft decorations, and turns weekends into meaningful family holiday projects.

    Set Up for Stress-Free Crafting

    • Maker station: Tray with kid scissors, glue stick, tape, twine, markers, hole punch, mini clothespins, felt sheets, cardstock.
    • Time box: Aim for 20–30 minutes per project; pause for cocoa between rounds.
    • Display plan: Choose a wall, mantel, or tree zone before you start so kids can see their work shine.
    • Cleanup rhythm: End each project with a 2-minute “holiday reset” song to clear scraps.

    1) Cinnamon–Apple Garland

    Look: Rustic, cozy, smells amazing.

    Supplies: Dehydrated orange/apple slices, cinnamon sticks, twine, needle or large plastic lacing tool.

    How: Kids thread fruit and cinnamon in a simple pattern; tie loops for the mantel. Add star anise as spacers if you like.

    Tip: For small hands, pre-punch fruit with a skewer.

    2) Paper Village Windows

    Look: Minimal, Scandinavian vibes.

    Supplies: White cardstock, craft knife (adult), battery tea lights, tape.

    How: Adults cut simple house silhouettes; kids draw doors and windows. Tape to window ledge; place tea lights behind at night.

    Upgrade: Add gold pen snowflakes or address numbers for a “street.”

    3) Keepsake Photo Ornaments

    Look: Modern frames with memory built in.

    Supplies: Cardstock circles, mini printed photos, glue stick, ribbon, hole punch.

    How: Kids glue photos to circles, decorate edges with markers or washi tape, punch hole, add ribbon. Date the back.

    Idea: Make one each year to track growth.

    4) Felt Star Garland

    Look: Soft, colorful, durable for little hands.

    Supplies: Felt sheets, star cookie cutter, fabric glue, twine.

    How: Trace and cut stars; sandwich twine between two stars with glue every 4–5 inches. Let dry, then drape.

    Adapt: Use trees, hearts, or dreidels to match your celebration.

    5) Jar-Lid Snow Globes (No Water)

    Look: Tiny scene, zero leaks.

    Supplies: Clean jars, lid inside facing up, bottle-brush trees or figurines, hot glue (adult), faux snow or Epsom salt, ribbon.

    How: Glue mini tree to lid insert; add a spoon of faux snow to jar; close; flip; tie ribbon. Kids can add paper name tags.

    Safety: Adults handle hot glue; kids sprinkle snow and tie ribbons.

    6) Stamped Kraft Wrap

    Look: Chic presents with kid-made pattern.

    Supplies: Kraft paper, washable paint or stamp pads, potato/foam stamps (stars, trees), twine.

    How: Kids print repeating shapes on laid-out paper. Let dry; wrap gifts; add twine and a sprig of evergreen.

    Low-mess: Use stamp pads instead of paint for quick cleanup.

    7) Storybook Countdown Chain

    Look: Bright paper chain with nightly reading prompts.

    Supplies: Colored paper strips, marker, tape or stapler.

    How: Write a simple activity on each strip (“read by flashlight,” “share a favorite memory”). Loop into a chain; remove one link nightly.

    Literacy boost: Let early readers decorate and read the prompts.

    8) Nature-Print Clay Ornaments

    Look: Elegant, white-on-white texture.

    Supplies: Air-dry clay, rolling pin, evergreen sprigs, leaf or lace for texture, straw (for holes), ribbon.

    How: Roll clay; press in sprigs to imprint; cut with cookie cutters; poke hanging hole; dry; add ribbon.

    Optional: Brush edges with metallic paint for a subtle glow.

    9) Window “Stained Glass” Stars

    Look: Color that glows in daylight.

    Supplies: Tissue paper squares, contact paper, black paper strips for frames.

    How: Stick tissue onto contact paper; frame with black strips; trim and hang on windows.

    Variation: Create menorah candles, snowflakes, or ornaments.

    10) Gratitude Garland

    Look: Warm, personal, conversation-starting.

    Supplies: Kraft tags or paper leaves, markers, mini clothespins, twine.

    How: Each family member writes one gratitude per tag; clip along twine across the mantel. Add to it all season.

    Memory saver: Store tags in a labeled envelope each year.

    Display & Safety Tips

    • Keep candles/flame away from paper and greenery; choose battery tea lights for kid zones.
    • Hang heavy garlands on removable hooks; test height so pets and toddlers can’t pull them down.
    • Collect breakables out of small-kid reach; showcase soft felt and paper pieces lower on the tree.

    Five-Step Holiday Craft Game Plan

    1. Pick two projects (one quick, one keepsake).
    2. Set up the maker station and choose the display area.
    3. Craft for 25 minutes; run the 2-minute reset.
    4. Hang or place the finished decor immediately—instant payoff.
    5. Snap a photo for your “Family Holiday Projects” album.

    Conclusion

    Beautiful decor doesn’t require perfection—just participation. Choose two ideas to start, keep sessions short and sweet, and let kids’ creativity lead. With these DIY holiday decor projects, you’ll fill your home with kids craft decorations that look polished and feel personal—exactly the kind of family holiday projects everyone will remember.

  • 10 Indoor Crafts to Keep Kids Busy on Rainy Days

    10 Indoor Crafts to Keep Kids Busy on Rainy Days

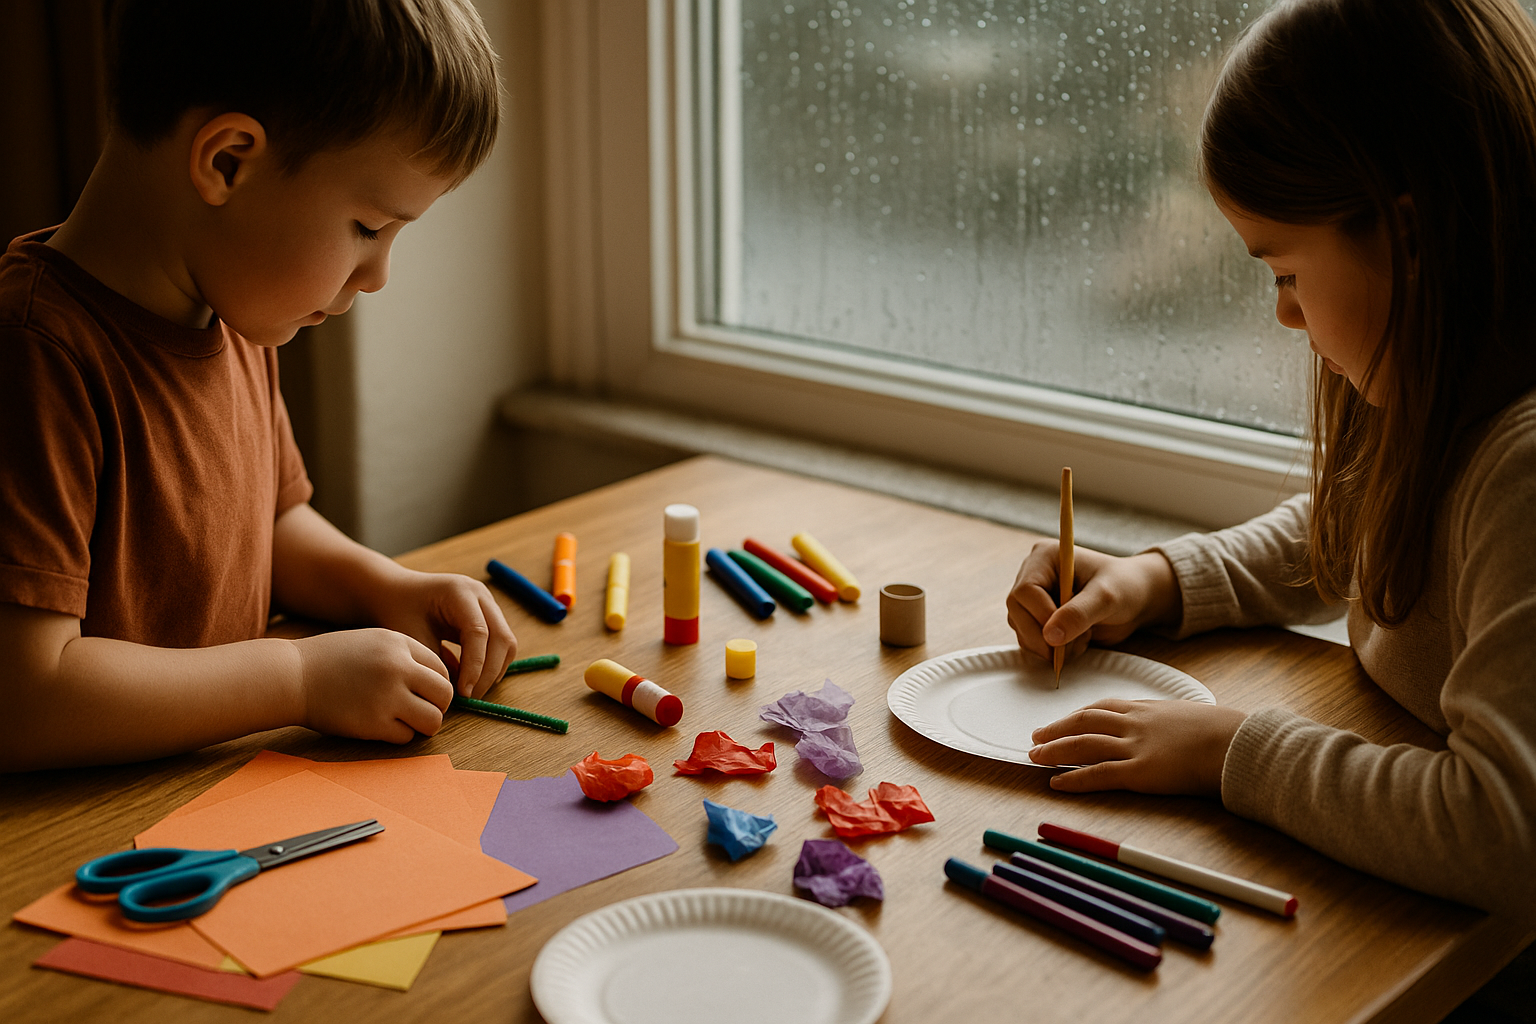
    Stuck inside and need something fun (and low-mess) to do? These ten indoor crafts for kids double as creative play and skill-building. Each project lists quick supplies, 3-step directions, and simple age tweaks—perfect rainy day activities that turn boredom into DIY kids projects kids will proudly show off.

    Before You Start: Set Up for Stress-Free Crafting

    • Prep a “maker tray”: tape, child scissors, glue stick, markers, crayons, washi tape, stickers.
    • Time-box: 20–30 minutes per project keeps energy high; rotate stations if you have multiple kids.
    • Surfaces & cleanup: Cover the table, keep a damp cloth handy, and end with a 2-minute “cleanup song.”

    1) Paper Plate Animal Masks

    Supplies: paper plates, markers/paint, scrap paper, glue, string or craft sticks.

    Steps: Cut eye holes → color a face (cat, fox, panda) → glue ears/whiskers; add stick or string.

    Tweak: Little kids color; older kids design 3D ears/snout. Put on a mini “mask parade.”

    2) Sock-Puppet Theater

    Supplies: clean socks, buttons or paper eyes, yarn, glue/tape; box for stage.

    Steps: Add eyes/hair → decorate a box “stage” → improvise a 2-minute skit.

    Tweak: Younger kids narrate; older kids script a short scene and make tickets.

    3) Salt-Painting Watercolor

    Supplies: thick paper, white glue, table salt, watercolors/food coloring, dropper/brush.

    Steps: Draw lines with glue → sprinkle salt, shake off extra → touch colored water to salt and watch it travel.

    Tweak: Try names, constellations, or map rivers for sneaky science.

    4) Tissue “Stained Glass” Windows

    Supplies: tissue paper squares, contact paper (or clear tape on wax paper), black paper for “lead.”

    Steps: Stick tissue pieces onto contact paper → frame with black strips → hang on a window.

    Tweak: Little ones make mosaics; older kids create themed designs (rainbows, leaves).

    5) Cardboard City Build

    Supplies: boxes, tubes, tape, markers, toy cars/figurines.

    Steps: Fold simple buildings → draw windows/roads → connect with bridges/tunnels.

    Tweak: Add traffic signs and a “delivery mission” to extend play.

    6) No-Cook Cloud Dough

    Supplies: 8 parts flour + 1 part oil (vegetable or baby), tray, cups/cookie cutters. (For gluten-free, use cornstarch.)

    Steps: Mix → knead to sand-like texture → mold shapes.

    Tweak: Add a drop of food coloring or a spoon of cocoa for scent; store airtight.

    7) Marble Run on the Wall

    Supplies: paper tubes, painter’s tape, marbles/pom-poms, bowl.

    Steps: Tape tubes at angles → test and tweak slopes → race two marbles.

    Tweak: Younger kids use pom-poms; older kids add “switches” and score zones.

    8) DIY Instruments (Kitchen Band)

    Supplies: rubber bands, boxes/tins (guitar), rice/beans + containers (shakers), wooden spoon (drumstick).

    Steps: Stretch bands over a box → fill shakers and seal → form a band and play a favorite song.

    Tweak: Explore rhythms: slow/fast, loud/soft. Record a 30-second “single.”

    9) Origami Corner Bookmarks

    Supplies: square paper, markers, scrap paper for eyes/ears.

    Steps: Fold a corner pocket → decorate as monsters/animals → test in a bedtime book.

    Tweak: Advanced: add teeth, horns, or layered patterns.

    10) Make-Your-Own Board Game

    Supplies: cardstock/poster board, markers, a die, small toys as tokens.

    Steps: Draw a path with start/finish → add challenge squares (“jump 3 times,” “tell a joke”) → play and edit rules together.

    Tweak: Theme it (space, jungle) and add cooperative goals to reduce competition.

    Low-Mess Tips & Safety

    • Contain glitter/loose bits: tray or baking sheet under projects.
    • Choose kid-safe glues/markers; supervise cutting and small parts for younger children.
    • Clean as you go: a tiny trash bowl on the table speeds tidy-up.

    Rainy Day Bonus: Turn Crafts into Play

    • Showtime: Use masks/puppets for a two-minute performance.
    • Gallery wall: Tape salt paintings and stained glass in a “museum” hallway.
    • City + marble run mash-up: Deliver “packages” through your cardboard city, then race marbles to the depot.

    Conclusion

    With a little setup and the ten projects above, you’ve got a toolbox of indoor crafts for kids that keep hands busy and imaginations brighter. Save this list for your next stormy afternoon—these rainy day activities are quick wins that build creativity, confidence, and hours of DIY kids projects joy.